Installation of R
R programming is a very popular language and to work on that we have to install two things, i.e., R and RStudio. R and RStudio works together to create a project on R.
Installing R to the local computer is very easy. First, we must know which operating system we are using so that we can download it accordingly.
The official site https://cloud.r-project.org provides binary files for major operating systems including Windows, Linux, and Mac OS. In some Linux distributions, R is installed by default, which we can verify from the console by entering R.
To install R, either we can get it from the site https://cloud.r-project.org or can use commands from the terminal.
Install R in Windows
There are following steps used to install the R in Windows:
Step 1:
First, we have to download the R setup from https://cloud.r-project.org/bin/windows/base/.

Step 2:
When we click on Download R 3.6.1 for windows , our downloading will be started of R setup. Once the downloading is finished, we have to run the setup of R in the following way:
- Select the path where we want to download the R and proceed to Next.

- Select all components which we want to install, and then we will proceed to Next .

- In the next step, we have to select either customized startup or accept the default, and then we proceed to Next .

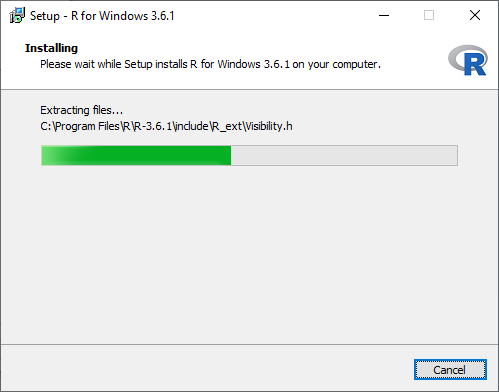
- When we proceed to next, our installation of R in our system will get started:
- In the last, we will click on finish to successfully install R in our system.

Install R in Linux
There are only three steps to install R in Linux
Step 1:
In the first step, we have to update all the required files in our system using sudo apt-get update command as:

Step 2:
In the second step, we will install R file in our system with the help of sudo apt-get install r-base as:

Step 3:
In the last step, we type R and press enter to work on R editor.
